Open World Store
The OpenWorldStore prefab offers visitors a convenient way to access your world store. Customize its appearance to attract visitors and highlight your store.
You can visit the Open World Store Example World to see how it works first-hand. Notice that there is a real product available in the store - don't buy it!
How to Import
- Open the Example Central Window from the window from the Unity Editor Menu under "VRChat SDK > 🏠 Example Central"
- If you haven't enabled Creator Economy examples yet:
- Press the ⚙️ gear icon in the Example Central window to open the Example Central settings.
- Enable "Show Creator Economy Examples".
- Select this prefab in Example Central.
- Press the "Import" button to import the example assets into your project.
Prefabs included
- OpenWorldStorePrefab: A vending machine that opens a world store when the user interacts with it. Includes a customizable graphic and interaction text.

How to Use
- Create a world store, publish the store, and add at least one published listing.
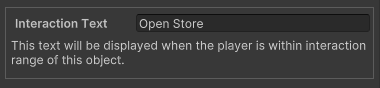
- Set the Interaction Text you want users to see when approaching the prefab.
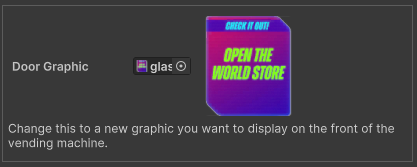
- Set the Door Graphic you want displayed on the front of your vending machine by selecting a texture in the "Door Graphic" picker.
- Build & Publish your world.
- "Build & Test" does not allow you to open world stores. You must "Build & Publish" to test your world store in VRChat.
- If you're adding a world store to an existing world, you should "Build & Publish" to a new world ID. This allows you to test the prefab before publishing it to your existing world.
Creating a New Door Graphic
You can create a graphic using Photoshop or any other image editor.
Using Photoshop
The example includes a Photoshop file for easy editing at the path Assets/Examples/OpenWorldStore/Prop_VendingMachine/Textures/glass_Screen_TEMPLATE.psd.
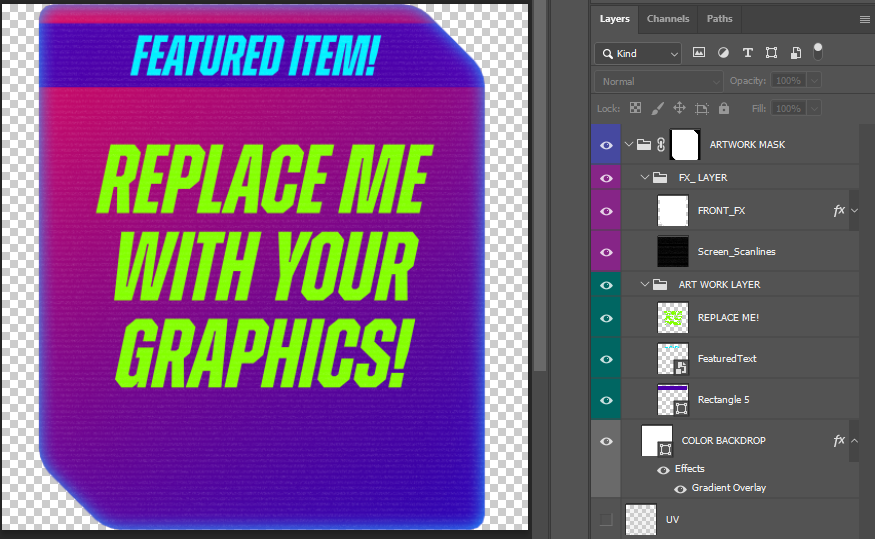
- Replace the contents of the "REPLACE ME!" layer with a graphic that represents your listing(s).
- Update the text in the "FeaturedText" layer with your own words.
- Edit any of the other layers as you see fit, keeping the overall size and masking of the graphic the same.
- Export your new version as a 24-bit PNG with transparency - you can save it directly into the Assets folder of your project.
Using Another Image Editor
The example includes a PNG for easy editing at the path Assets/Examples/OpenWorldStore/Prop_VendingMachine/Textures/glass_Screen_UV_Map.
- Open "glass_Screen_UV_Map.png" in an image editor.
- Edit the white area of the template. You can add whatever graphics you want.
- Save your file as a 24-bit PNG with alpha transparency.
- Move the file into your project.
- Select the texture in the Project window, and set its Alpha Source to "Input Texture Alpha" in the inspector.
- Drag and drop the file from your project window to the "Door Graphic" input slot in the OpenWorldStorePrefab's inspector.